Painting indoor wall surfaces is the simplest way to refresh up your location. But this task can rapidly develop into a nightmare if you're not mindful. Adhere to these six ideas the following time you paint and also you'll get beautiful wall surfaces while maintaining your sanity.
Interior painting is without a doubt one of the most prominent diy home enhancement task, and it's simple to see why. There's no much better, even more affordable method to refresh up rooms than with a new layer of paint. And also, paint isn't awfully tough and also does not need customized training. Any able-bodied property owner can paint areas—-- all you require is a little persistence, practice, and also some useful suggestions.
These painting tips can help also novice DIYers accomplish professional-quality results. Follow these suggestions and also you'll not only paint better, you'll work quicker as well as neater, also.
1. Prep the Surface
A successful paint task begins with correctly preparing the surface area you're mosting likely to repaint. That implies you need to scuff, sand, spot, as well as fill up every hole, surface, damage, as well as fracture blemish. This isn't the enjoyable component of repainting an area, however it is the most integral part. No paint, no matter its price, shade, producer, or density's insurance claims, will certainly hide a pockmarked or split surface area.
2. Tint the Primer
Keying ceilings and also walls is mandatory whenever you're repainting brand-new drywall or painting over a dark shade. It's smart to prime any time you paint. Primer serves three major features. It obstructs spots from hemorrhaging through. Second, it enables one-coat coverage for the paint. Third, and most crucial, it boosts paint adhesion, which greatly minimizes sores and peeling.
Expert painters will typically tint the primer towards the finished color by blending a percentage of topcoat paint into the guide. This trick substantially boosts the ability of the topcoat to entirely hide the topped surface.
You can now buy paints which contain primers, however absolutely nothing covers too or boosts attachment as a lot as a dedicated guide.
3. Go With Canvas Rather Than Plastic
Plastic ground cloth give an affordable way to protect floorings as well as home furnishings from paint spatters, yet you 'd be a lot far better off purchasing canvas ones. Canvas is rip-resistant and also very resilient. It lays level as well as presents a lot less of a tripping danger. Canvas absorbs paint drips, unlike plastic decline fabrics, which become unsafe when bespattered with paint. Canvas drop towels can be easily folded up around entrances as well as edges, something that's impossible to do with plastic sheeting. And also, the majority of plastic decrease fabrics need to be thrown out after making use of. Canvas decrease fabrics will last a life time.
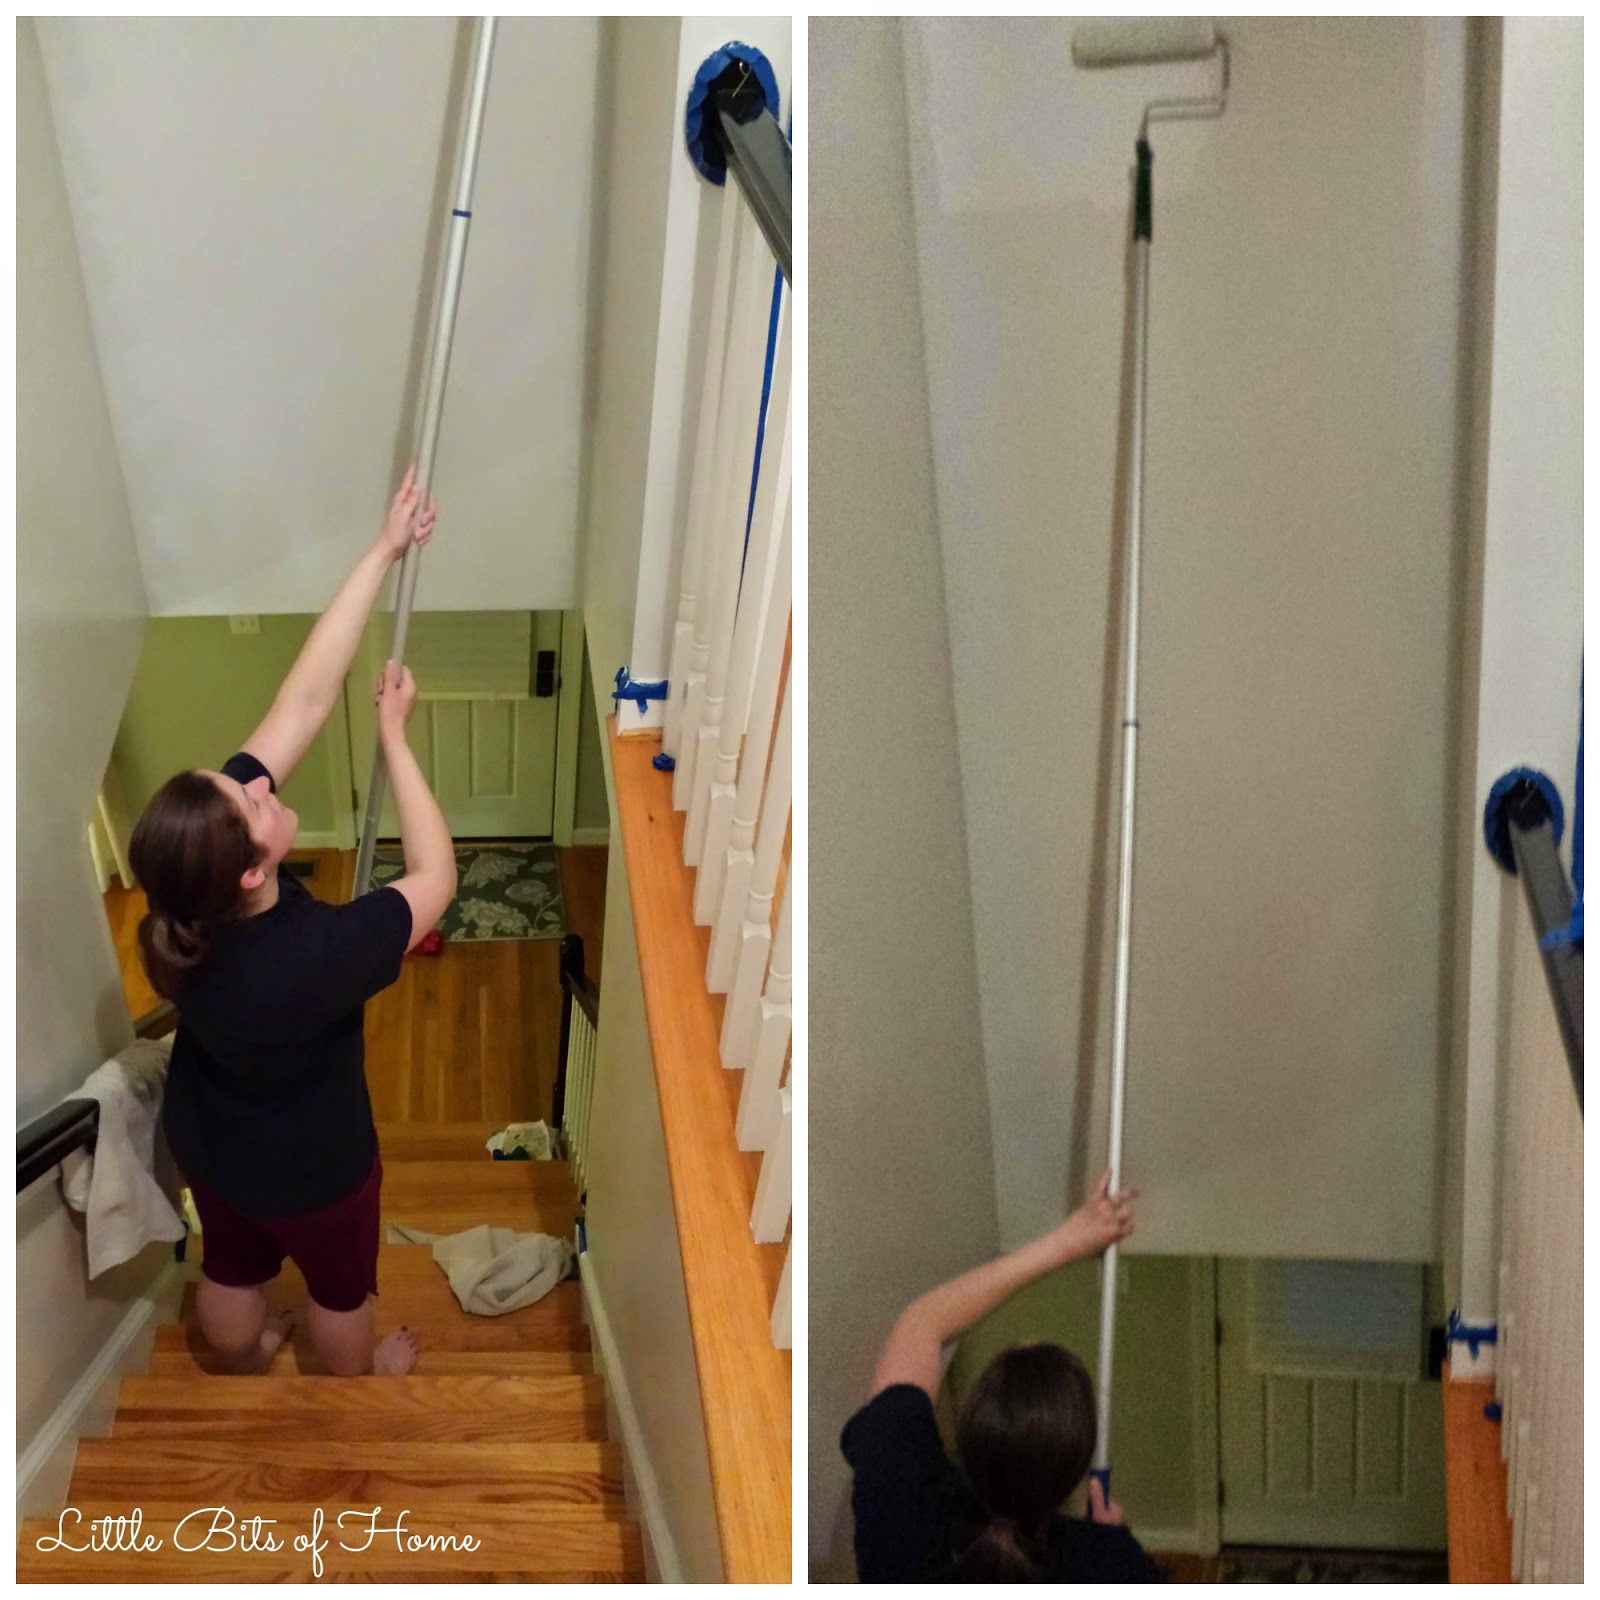
4. Reach for an Extension Pole
Neglect the stepladder and obtain a telescoping extension post for your paint roller. Extension poles can be found in different lengths, approximately 18 feet long, however one that prolongs from 18 to 36 inches is good enough to paint areas with 8- to 9-foot-tall ceilings. Check that your paint roller's handle has a threaded opening ultimately, then simply turn it onto the extension pole.
When buying extension poles, seek one that has a soft, nonslip hold as well as a stiff steel core. And make sure the threaded end of the post is likewise metal. All-plastic handles are as well versatile, which makes them tough to control.
5. Utilize a Paint Grid, Not a Tray
Rolling paint from a paint tray is an useless, unpleasant proposition. Right here's a much faster, neater, much better approach: Roll paint directly from a 5-gallon bucket using a paint grid. A paint grid is simply a rectangle-shaped, inflexible metal or plastic display that hooks onto the rim of the pail. Fill up the container about halfway with paint, then hang the grid inside the pail. Dip the roller sleeve right into the paint, as well as roll it against the grid to remove excess paint. It's that very easy. At the end of the day, go down the grid into the container as well as break on the lid
6. Overnight Storage
If you're done paint for the day however still have even more to do tomorrow, you don't have to go via the laborious process of cleaning your paintbrushes and paint-roller sleeves. Instead, just brush or roll off the excess paint, then securely cover them in plastic food cover. If essential, double up the plastic to seal out any air, then put the wrapped brushes as well as roller sleeves in the fridge to maintain them fresh. This may seem insane, however it functions—-- it'll maintain the paint from drying out over night as well as making your devices pointless.
The next day, just eliminate the gear from cold storage 30 minutes prior to painting, as well as it'll be ready and supple for usage. Correctly covered paintbrushes and roller sleeves can be stored this fashion for a number of days if you're tackling a really enthusiastic job.
additional resources check this site out